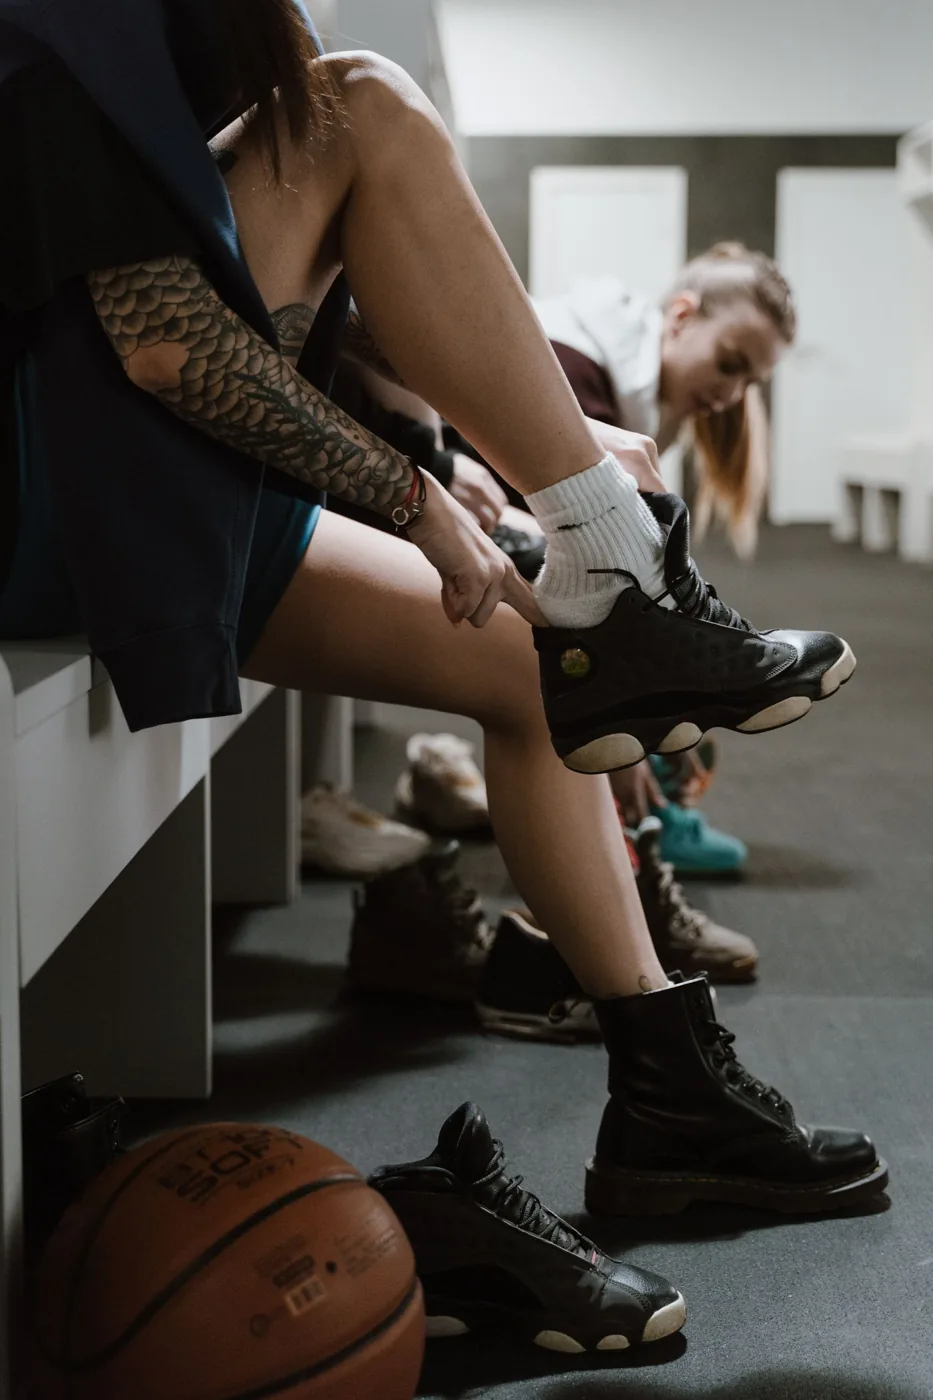
A shoe can look ideal online and still feel wrong once you stop, turn or settle into a defensive stance. Specifications describe parts of the design; they cannot fully describe the fit on your feet. Arrive with your normal playing socks, allow time for a proper try-on and compare more than the number printed on the box.
Start with the right setup
Try both shoes rather than assuming the second foot will feel the same. Wear the socks and any usual insert you actually use for basketball. If you plan to use a particular insert, check that it is compatible with the shoe rather than forcing it over another layer.
Use the size chart as a starting point
Measure your feet and consult the brand's current size chart as a starting point. Nike's help page directs shoppers to product size charts, but a chart does not remove model-to-model differences. Keep an adjacent size or another width available for comparison when the first choice feels uncertain.
Check the front and sides
Your toes should have usable room without repeatedly pressing hard into the front during controlled stops. At the same time, excessive sliding inside the shoe makes the apparent space misleading. Assess the shape as well as overall length.
Notice pressure across the widest part of the foot and along the sides. Increasing length just to escape a narrow forefoot may introduce a different fit problem. If the shape does not suit you, compare another model instead of assuming every discomfort can be solved by sizing up.
Lace for the way you will play
Settle your heel and lace the shoe evenly. The foot should feel held without requiring you to pull every section as tightly as possible. If loosening one area makes the rest of the shoe unstable, that is useful information about the fit.
Stand, walk and bend into a comfortable basketball stance. Notice whether the heel lifts repeatedly or the foot shifts sideways inside the upper. A firm-looking exterior does not guarantee that your foot is well held, and a soft upper is not automatically loose. Judge the actual movement.
Use controlled basketball actions
With the shop's permission and enough clear space, take a few short lateral steps, controlled stops and gentle rises onto your toes. Keep the movements modest on an unfamiliar floor. You are assessing fit, not staging a full-speed workout between display shelves.
Check whether your toes hit the front, your heel slips or a lace area creates concentrated pressure. Repeat the same movements in the comparison pair. Using a consistent sequence makes differences easier to identify than walking briefly in one model and jumping immediately to another.
Make comfort part of the decision
Do not buy a painful fit on the assumption that it will definitely improve. Some materials change with wear, but the promise of break-in is not proof that a poor shape will become suitable. If numbness, pain or persistent pressure appears during a try-on, stop and choose another option.
For online purchases, read the return conditions before wearing the shoes outdoors. Keep them clean during an indoor fit check. Only after the fit is workable should you compare cushioning feel, outsole suitability, price and appearance. A feature you admire matters less if the shoe is uncomfortable during your normal movements.
Use the chart to begin, then compare both feet through the same controlled movements and choose a shape that feels workable now.
Further reference
Something unclear? Send a correction or question.