Cones can make a drill easier to organize, but a line of plastic objects does not automatically improve practice. Each marker needs a purpose: a direction change, a starting position or a boundary to notice. Plan the movement first, then decide whether the marker belongs beside the route rather than directly beneath a player's feet.
Define what each marker tells you
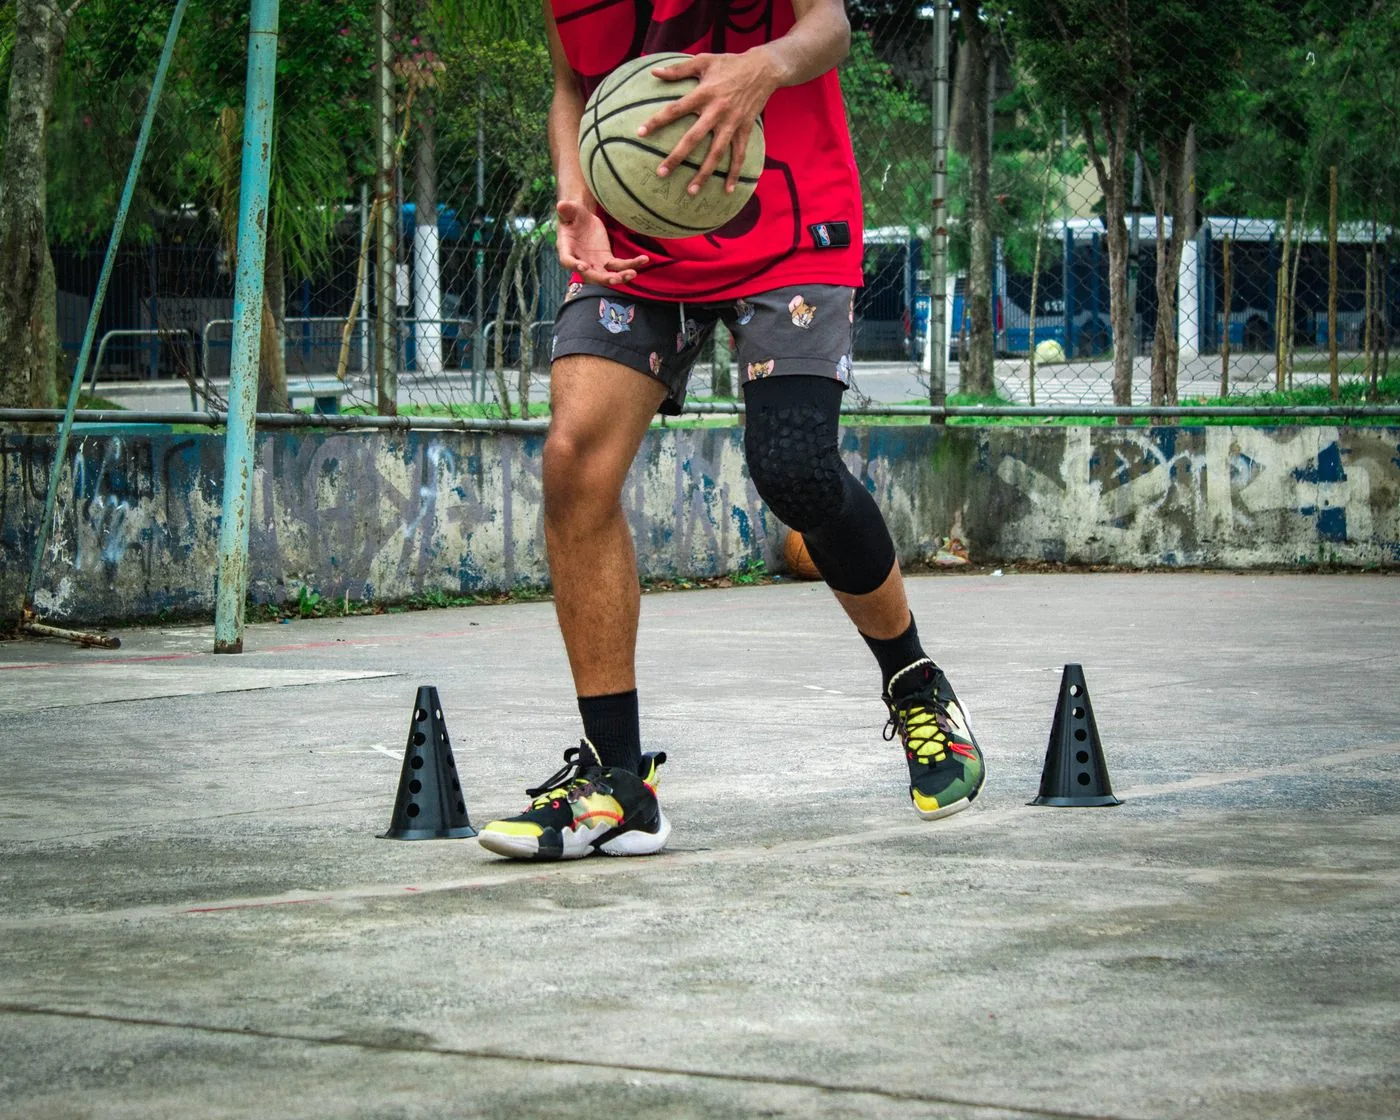
A cone can mark where to begin a dribble, where to change direction or how far apart two players should start. Choose one meaning for the drill and explain it. Using the same marker as both a turn point and a place to jump can create avoidable confusion.
Set distances for the movement and the available court, rather than copying a large workout diagram into a crowded space. A beginner practicing control may need fewer turns and more room between them. More cones do not make a task more advanced if they only produce hurried collisions with the markers.
Keep the player's feet out of the hardware
Place a marker beside a turning point where possible so the player reads it without needing to step on or over it. Keep cones away from the expected landing area of a layup or jump shot. Even a low, flexible marker remains an object on the floor.
Inspect the equipment for cracked edges or instability and use products intended for the surface. Do not improvise with glass bottles, loose weights or a phone placed face-up on the court. The substitute may introduce a harder obstacle while solving a very small marking problem.
Respect everyone else's route
Check the court before laying out the drill. A marker line across a walkway, endline or active game creates a problem beyond your practice group. Ask about shared space and keep your setup inside the area you can actually use.
On a windy outdoor court, watch whether lightweight markers move from their intended places. Stop and reset if the layout changes. Do not add random heavy objects on top to hold them down. If conditions make the equipment unsuitable, use clear existing court lines for the session instead.
Test the route before increasing speed
Walk the drill once, then complete a controlled repetition. Check the turning radius and where the ball travels if it escapes. If another player rebounds or passes, include their route in the trial too.
- Name the task and place only the markers it needs.
- Walk the full route, including the finish and recovery path.
- Move at a controlled pace while checking clearance.
- Adjust the layout before adding pressure, defenders or faster movement.
Remove markers when their job is done
A cone setup should not remain beneath a live shooting game once the drill ends. Collect the markers before switching activities and store them beyond the boundary with the rest of the equipment. Count them so nothing is left near the baseline.
Gradually remove visual prompts when you want the player to respond to opponents rather than objects. For example, replace a predetermined change-of-direction cone with a partner showing an open route. The cone organized the first learning step; it does not need to become a permanent feature of every repetition.
Use the fewest markers that clarify the task, keep them clear of feet and landings, and remove them before the next activity.
Something unclear? Send a correction or question.